Understanding Injection Molding Prototypes
What Are Injection Molding Prototypes?
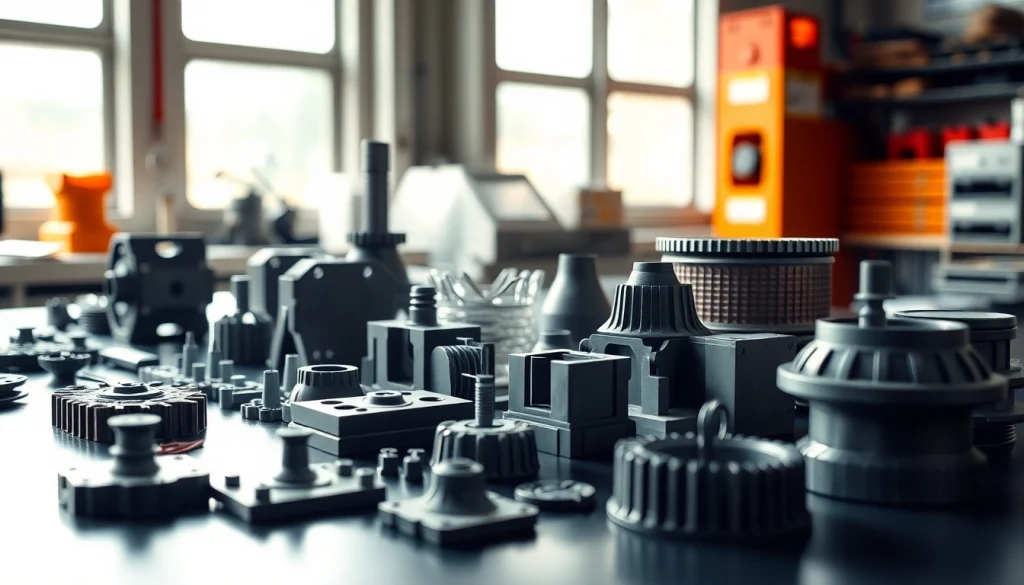
Injection molding prototypes are preliminary models created using injection molding processes to test the design, functionality, and manufacturability of a part before full-scale production begins. This technique leverages the same processes and materials that will be used in mass production, enabling designers and engineers to refine their products based on tangible outputs. Unlike low-fidelity prototyping methods such as 3D printing, injection molding prototypes provide greater accuracy and better validation for parts that require intricate detail and dimension-specific accuracy. By utilizing injection molding prototypes, manufacturers can identify potential issues early in the design phase and save valuable time and resources down the road.
Benefits of Using Injection Molding Prototypes
- High Accuracy: Injection molding allows for a level of precision that is needed for parts with tight tolerances, which is essential for functional prototypes.
- Material Testing: Prototypes can be manufactured using production-grade materials, allowing for proper testing under real-world conditions.
- Reduced Lead Times: Rapid prototyping capabilities can dramatically shorten the time from concept to final prototype, speeding up the overall product development cycle.
- Cost-Efficiency: While the initial investment may be higher than other prototyping methods, the reduced error rates and improved design iterations can lead to lower overall costs as rework is minimized.
- Functionality Validation: Prototypes can be tested for their intended function, which can inform future design decisions and aid in risk assessment.
Common Materials for Prototyping
When selecting materials for injection molding prototypes, manufacturers often consider a range of plastics that best fit their application’s needs:
- ABS (Acrylonitrile Butadiene Styrene): Known for its toughness and impact resistance, ABS is widely used in prototypes requiring strength and durability.
- Polypropylene (PP): A lightweight thermoplastic that is resistant to stress and fatigue, making it suitable for flexibility in designs.
- Nylon: Exceptional for parts that require high endurance and impact resistance, often used for functional testing.
- Polycarbonate (PC): Transparent and strong, polycarbonate is often chosen for prototypes where visuals are essential.
- TPU (Thermoplastic Polyurethane): A go-to selection for flexible prototypes that must endure bending and stretching.
The Injection Molding Process Explained
Step-by-Step Overview of Injection Molding
The injection molding process consists of several key steps that transform raw material into a finished prototype:
- Material Preparation: Plastics, usually in granule form, are fed into a hopper and heated until they reach a molten state.
- Injection: The molten plastic is injected into a mold cavity under high pressure, filling it completely and ensuring all details are captured.
- Cooling: The injected material cools and solidifies within the mold, taking the shape of the desired prototype.
- Unmolding: Once cooled, the mold opens to eject the prototype, which is now ready for inspection and testing.
- Finishing: Any excess material is trimmed, and further finishing processes may be applied to enhance the prototype’s appearance or functionality.
Choosing the Right Equipment for Prototyping
The selection of equipment for injection molding prototyping is critical to achieve high-quality outcomes. Key considerations include:
- Injection Molding Machines: The machine’s specifications, such as clamping force and injection volume, should match the requirements of the prototype.
- Mold Design: The complexity and material of the mold must align with the product’s specifications and be optimized for durability.
- Automation Features: While manual operations can be less expensive, automated systems can increase efficiency and reduce labor costs in larger production runs.
- Material Handling Equipment: Ensure that adequate systems are in place for transporting, drying, and storing raw materials used in the process.
Quality Control in Prototype Production
Quality control is essential throughout the injection molding process to ensure that prototypes meet stringent standards. Suggested practices include:
- Material Testing: Inspect and test the raw materials for properties such as strength, viscosity, and melting point before initiation.
- Dimensional Inspection: Utilize gauges and calipers to measure finished prototypes against design specifications.
- Functional Testing: Subject the prototype to stress tests and real-world simulations to assess performance.
- Iterative Feedback: Implement feedback loops from prototyping to design adjustments for continuous improvement of both prototype and production processes.
Cost Factors in Injection Molding Prototypes
Initial Investment vs. Long-Term Savings
Understanding the cost dynamics of injection molding prototypes is crucial for any organization. Initially, the setup costs, including mold creation and equipment, may be substantial. However, the long-term savings emerge through:
- Reduced Error Rates: Early identification of design flaws minimizes the investment in later production iterations.
- Streamlined Production Processes: Injection molding allows for high-volume outputs, leading to economies of scale.
- Material Efficiency: The precision of injection molding reduces scrap material, thus optimizing material usage and related costs.
Factors Influencing Prototype Costs
Several factors can influence the overall cost of injection molding prototypes, including:
- Mold Complexity: More intricate molds require higher production costs due to longer machining and design times.
- Material Selection: Premium materials come with higher price tags, impacting overall prototype costs.
- Volume of Production: Larger volumes can help distribute the mold and material costs across multiple units, lowering the per-unit cost.
- Finishing Requirements: Additional measurements for surface treatments or other enhancements can result in increased costs.
Comparative Analysis of Prototyping Methods
When considering prototyping options, it is essential to evaluate different approaches alongside injection molding:
- 3D Printing: This method excels in low-volume and complex designs, but it may lack the material properties needed for functional testing.
- Machining: Best for high-fidelity prototypes, but may require longer lead times and higher costs for certain materials.
- Low-Volume Injection Molding: A hybrid that combines benefits from both methods, allowing for quick iterations without high setup costs.
Design Considerations for Injection Molding Prototypes
Essential Design Guidelines for Prototypes
Designing for injection molding requires attention to several crucial guidelines to ensure prototypes are efficient and effective:
- Draft Angles: Incorporating draft angles in the mold design facilitates part ejection without damage.
- Wall Thickness: Maintain uniform wall thickness to avoid issues like warpage and ensure consistent filling during injection.
- Radii and Fillets: Utilize generous radii and fillets to reduce stress concentrations in parts and improve material flow.
- Assembly Features: Integrate features that allow for easy assembly and disassembly of modules during the prototype testing phase.
Common Design Pitfalls to Avoid
Designing injection molding prototypes can be complex, and certain pitfalls should be avoided:
- Ignoring Tolerance Specifications: Failure to adhere to specified tolerances can lead to poor fit and function in assembled products.
- Neglecting Material Properties: Inadequate understanding of material characteristics can lead to unsuitable designs that perform poorly.
- Overcomplicating Designs: Extraneous details can lead to increased costs and complications during both molding and assembly.
How to Optimize Design for Functionality
Ensuring that designs meet functional requirements involves strategic steps:
- Prototype Iteration: Utilize iterative approaches where design changes are made based on feedback from testing.
- Cross-Disciplinary Collaboration: Involve engineers, designers, and manufacturers in the design process to maximize functionality.
- Functional Simulations: Utilize CAD software to simulate functionality before production begins, allowing for identification of design flaws.
Real-World Applications of Injection Molding Prototypes
Sectors Benefiting from Injection Molding Prototypes
Injection molding prototypes serve a variety of industries, aiding in the product development of:
- Consumer Electronics: Used for testing housings, buttons, and internal structures before market launch.
- Automotive: Critical in designing complex parts that require rigorous testing for safety and performance.
- Medical Devices: Vital for creating prototypes that need to adhere to strict regulatory standards.
- Toys and Consumer Goods: Ensures aesthetic and functional elements meet consumer expectations through prototypes.
Case Studies Demonstrating Success
Numerous case studies highlight how companies have effectively utilized injection molding prototypes:
- Circuit Board Enclosure: A tech company reduced time-to-market by 30% by prototyping enclosures and iterating designs quickly.
- Automotive Component: An automotive manufacturer improved part performance by 20% after adjusting designs based on prototype testing.
- Medical Device Housing: A medical firm achieved compliance with health regulations prior to production, saving on recalls and rework costs.
Future Trends in Injection Molding Prototyping
As technology evolves, several trends are shaping the future of injection molding prototypes:
- Increased Automation: The rise of automation in the molding process promises to increase efficiency and reduce human error.
- Integration of AI: Utilizing artificial intelligence to predict design flaws and streamline the prototyping process.
- Material Advancements: Development of new materials that can enhance the performance and sustainability of prototypes.
- 3D Modeling and Simulation Growth: Continuous improvements in CAD and simulation software that enable more comprehensive testing before physical prototyping.